# doccano
[](https://www.codacy.com/gh/doccano/doccano/dashboard?utm_source=github.com&utm_medium=referral&utm_content=doccano/doccano&utm_campaign=Badge_Grade)
[](https://github.com/doccano/doccano/actions/workflows/ci.yml)
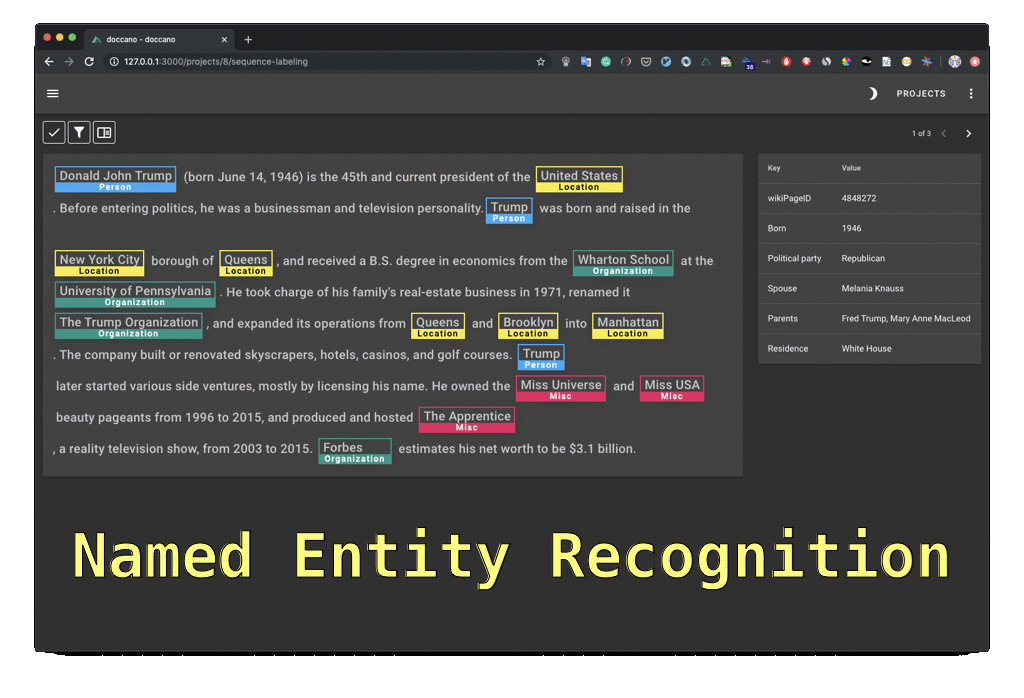
doccano is an open source text annotation tool for humans. It provides annotation features for text classification, sequence labeling and sequence to sequence tasks. So, you can create labeled data for sentiment analysis, named entity recognition, text summarization and so on. Just create a project, upload data and start annotating. You can build a dataset in hours.
## Demo
You can try the [annotation demo](http://doccano.herokuapp.com).
## Features
- Collaborative annotation
- Multi-language support
- Mobile support
- Emoji :smile: support
- Dark theme
- RESTful API
## Usage
Three options to run doccano:
- pip (Python 3.8+)
- Docker
- Docker Compose
### pip
To install doccano, simply run:
```bash
pip install doccano
```
By default, SQLite 3 is used for the default database. If you want to use PostgreSQL, install the additional dependencies:
```bash
pip install 'doccano[postgresql]'
```
and set `DATABASE_URL` environment variable according to your PostgreSQL credentials:
```bash
DATABASE_URL="postgres://${POSTGRES_USER}:${POSTGRES_PASSWORD}@${POSTGRES_HOST}:${POSTGRES_PORT}/${POSTGRES_DB}?sslmode=disable"
```
After installation, run the following commands:
```bash
# Initialize database.
doccano init
# Create a super user.
doccano createuser --username admin --password pass
# Start a web server.
doccano webserver --port 8000
```
In another terminal, run the following command:
```bash
# Start the task queue to handle file upload/download.
doccano task
```
Go to .
### Docker
As a one-time setup, create a Docker container as follows:
```bash
docker pull doccano/doccano
docker container create --name doccano \
-e "ADMIN_USERNAME=admin" \
-e "ADMIN_EMAIL=admin@example.com" \
-e "ADMIN_PASSWORD=password" \
-p 8000:8000 doccano/doccano
```
Next, start doccano by running the container:
```bash
docker container start doccano
```
Go to .
To stop the container, run `docker container stop doccano -t 5`.
All data created in the container will persist across restarts.
### Docker Compose
You need to install Git and to clone the repository:
```bash
git clone https://github.com/doccano/doccano.git
cd doccano
```
_Note for Windows developers:_ Be sure to configure git to correctly handle line endings or you may encounter `status code 127` errors while running the services in future steps. Running with the git config options below will ensure your git directory correctly handles line endings.
```bash
git clone https://github.com/doccano/doccano.git --config core.autocrlf=input
```
Then, create an `.env` file with variables in the following format (see [./config/.env.example](https://github.com/doccano/doccano/blob/master/config/.env.example)):
```plain
# platform settings
ADMIN_USERNAME=admin
ADMIN_PASSWORD=password
ADMIN_EMAIL=admin@example.com
# rabbit mq settings
RABBITMQ_DEFAULT_USER=doccano
RABBITMQ_DEFAULT_PASS=doccano
# database settings
POSTGRES_USER=doccano
POSTGRES_PASSWORD=doccano
POSTGRES_DB=doccano
```
#### Production
After running the following command, access .
```bash
docker-compose -f docker-compose.prod.yml --env-file ./config/.env.example up
```
#### Development
After running the following command, access . If you want to use the admin site, please access .
```bash
docker-compose -f docker-compose.dev.yml --env-file ./config/.env.example up
```
You can run the the test codes for the backend with the following command:
```bash
docker exec doccano_backend_1 python backend/manage.py test api
```
### One-click Deployment
| Service | Button |
|---------|---|
| AWS[^1] | [](https://console.aws.amazon.com/cloudformation/home?#/stacks/new?stackName=doccano&templateURL=https://doccano.s3.amazonaws.com/public/cloudformation/template.aws.yaml) |
| Heroku | [](https://dashboard.heroku.com/new?template=https%3A%2F%2Fgithub.com%2Fdoccano%2Fdoccano) |
> [^1]: (1) EC2 KeyPair cannot be created automatically, so make sure you have an existing EC2 KeyPair in one region. Or [create one yourself](https://docs.aws.amazon.com/AWSEC2/latest/UserGuide/ec2-key-pairs.html#having-ec2-create-your-key-pair). (2) If you want to access doccano via HTTPS in AWS, here is an [instruction](https://github.com/doccano/doccano/wiki/HTTPS-setting-for-doccano-in-AWS).
## FAQ
- [How to create a user](https://doccano.github.io/doccano/faq/#how-to-create-a-user)
- [How to add a user to your project](https://doccano.github.io/doccano/faq/#how-to-add-a-user-to-your-project)
- [How to change the password](https://doccano.github.io/doccano/faq/#how-to-change-the-password)
See the [documentation](https://doccano.github.io/doccano/) for details.
## Contribution
As with any software, doccano is under continuous development. If you have requests for features, please file an issue describing your request. Also, if you want to see work towards a specific feature, feel free to contribute by working towards it. The standard procedure is to fork the repository, add a feature, fix a bug, then file a pull request that your changes are to be merged into the main repository and included in the next release.
Here are some tips might be helpful. [How to Contribute to Doccano Project](https://github.com/doccano/doccano/wiki/How-to-Contribute-to-Doccano-Project)
## Citation
```tex
@misc{doccano,
title={{doccano}: Text Annotation Tool for Human},
url={https://github.com/doccano/doccano},
note={Software available from https://github.com/doccano/doccano},
author={
Hiroki Nakayama and
Takahiro Kubo and
Junya Kamura and
Yasufumi Taniguchi and
Xu Liang},
year={2018},
}
```
## Contact
For help and feedback, please feel free to contact [the author](https://github.com/Hironsan).